Creating your own wooden shelf is a perfect way to add some character and functionality to your living space. Whether you want to display your favorite books, showcase decorative items, or organize everyday essentials, a DIY wooden shelf can be a beautiful and practical addition to any room.
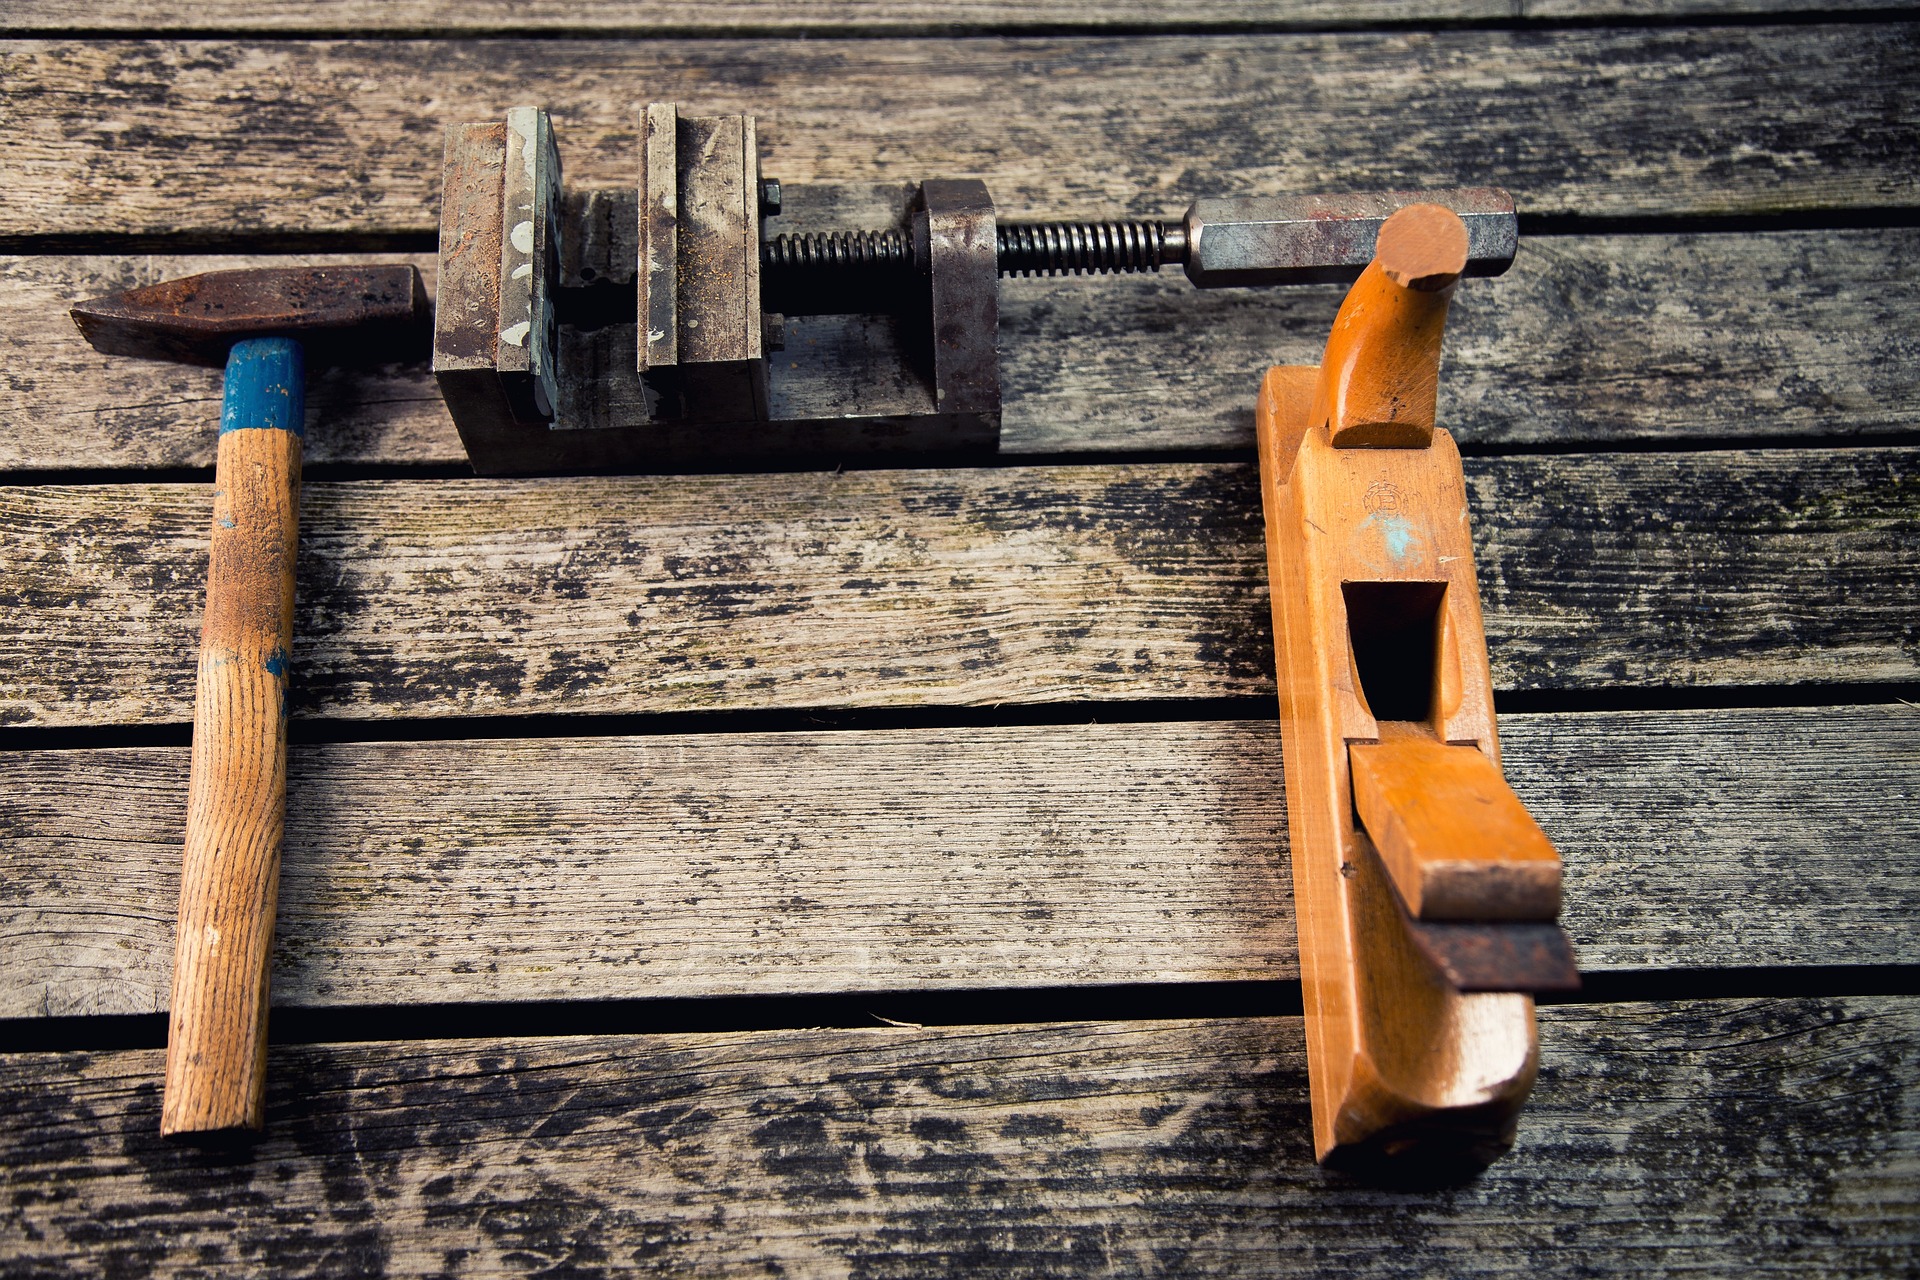
Before you get started, gather the following materials:
Start by deciding the size and shape of your wooden shelf. Measure the space where you intend to hang the shelf and determine how large you want it to be.
Using a level, draw a straight pencil line on the wall at the desired height and length of the shelf. This will be your guide for installing the brackets.
Using the measurements you determined in the previous step, cut the wooden boards or planks accordingly. If you don't have a saw, many home improvement stores can cut the wood for you.
Once the wood is cut, sand the edges and surfaces to ensure a smooth finish. Sanding also helps prepare the wood for painting or staining if you choose to do so.
Hold one of the wooden boards against the wall, aligning it with the pencil line you drew earlier. Use a stud finder to locate the wall studs behind the board.
Once you have located the studs, mark their positions on the board and drill pilot holes through the wood at those marks.
Next, attach the brackets to the wall using screws. Make sure to secure the brackets to the wall studs to ensure proper support for the shelf.
Repeat this process for each wooden board, making sure they are evenly spaced and level with each other.
Place the wooden boards onto the installed brackets. Make sure they fit securely and are level.
Once the boards are in the desired position, use a drill to screw them into place from underneath, making sure they are firmly attached to the brackets.
If you prefer a natural wood look, your DIY wooden shelf is now complete. However, if you want to add some color or protection, consider painting or staining the wood.
Apply the chosen paint or stain using a paintbrush or sponge. Be sure to follow the manufacturer's instructions and allow the paint or stain to dry completely before handling or placing objects on the shelf.
By following these simple steps, you can create your own stylish and functional DIY wooden shelf. Whether you decide to display cherished items or use it as an organizational tool, this handmade shelf will be a source of pride and a talking point in your home.